
Whitewater paddlers consider many factors before they choose to run a rapid. In this post, I’ll give you a brief overview of these considerations and what goes into scouting rapids.
Before we get started though, I’d recommend reviewing the Whitewater Terminology so you know what I mean when I say things like “holes”, “strainers” or “standing waves”.
In addition, you may find reading up on how rapids are classified helpful as it explains the basic classification system for rapid difficulty.
Note: Regardless of the level of whitewater and your own experience, please always always always wear a helmet and life jacket.
So how do we decide if the rapid is something we can run? There are a few things we keep in mind.

This post may contain affiliate links. If you make a purchase through one of these links, I may receive a small commission at no extra cost to you. Your support is much appreciated! You can learn more by reading my full disclosure.
Planning Ahead (Scouting Rapids from Home)
Popular rivers (like the Missinaibi, Bloodvein and Coppermine rivers) have detailed guidebooks explaining what features there are along a river. By using the descriptions, you’re able to predict the likelihood you’ll be able to paddle the rapid, rather than portage around.
This will help you estimate how much of the river you can complete on a given day. The guidebook may have suggestions on the best route to take down a set of rapids.
Search for a reputable guidebook for the river prior to heading out.
Consider your group’s energy and abilities
The most important criteria for judging if you’ll run a rapid actually has little to do with the rapid itself. The most important consideration is your group.
Keeping your group safe is your priority, so you need to consider the group when making decisions about rapids. And this goes past just knowing their paddling skills. Ask yourself these questions:
What time of day is it? What’s the weather like?
By mid-afternoon, energy levels are falling and your group may not have the strength or focus to go down the rapid. The same can be said if it’s been pouring rain and windy all day: uncomfortable paddlers don’t always make the best decisions when going down a rapid. When it doubt, portage it out! (Or if it’s getting late, choose a campsite upriver of a big rapid).
Leaders – how are you feeling at the time of the set?
One trip in 2017, after the hardest portage of my life, I knew I didn’t have the strength or focus to safely guide my group through the last rapid (I could barely grip my paddle, let alone paddle a challenging rapid). Even though this rapid was the only thing standing between us and our campsite, we chose to camp at the end of the portage. Not ideal, but it was definitely the safer option.
How does your group feel about the rapid?
Conducting a blind vote can reveal any insecurities your group has. It’s good to encourage paddlers to get out of their comfort zones (maybe switch up boat groups for the run, or walk through how they’ll stay safe even if the boat tips). But you should never force someone into a situation they feel is unsafe or frightening, especially with children.
Read more: Beginner’s Guide to Canoe Camping
Scouting Rapids: What to Know and What to Do
There are two methods for scouting rapids. In general, I’d say I spend 60% of the time scouting the rapid from the canoe and 40% of the time scouting from the shore, but this is very dependent on the river I’m paddling. Here’s a more detailed explanation:
Scouting for WORMS
Paddlers use the following acronym to remember all the things to look for when scouting: WORMS.
Water – Where is the water flowing? Where is the bulk of the water? Look for the direction of the most forceful water (that’s where your canoe would go if you weren’t paddling).
Obstacles – Look for anything that will get in between you and the end of the rapid. Watch for holes (the recirculating water can trap someone), standing waves (if they’re big, they can tip or swamp a boat), strainers (obstacles like trees let water through but not a boat or person). If someone were to tip above an obstacle and you wouldn’t be able to rescue them, don’t run the rapid.
Route – What pathway will you take down the rapid?
Markers – Look for objects (markers) that will remind you where you are in the set (like big boulders, trees on the shoreline, bends).
Safety – If you’re paddling bigger water, I’d highly recommend doing a whitewater rescue course so you know how to do proper upstream and downstream safety. For smaller and safer sets, you can get away with informal safety (going down one at a time, picking up paddlers if they fall out, etc.)
Read more: Which Wilderness Medicine Course should you take?
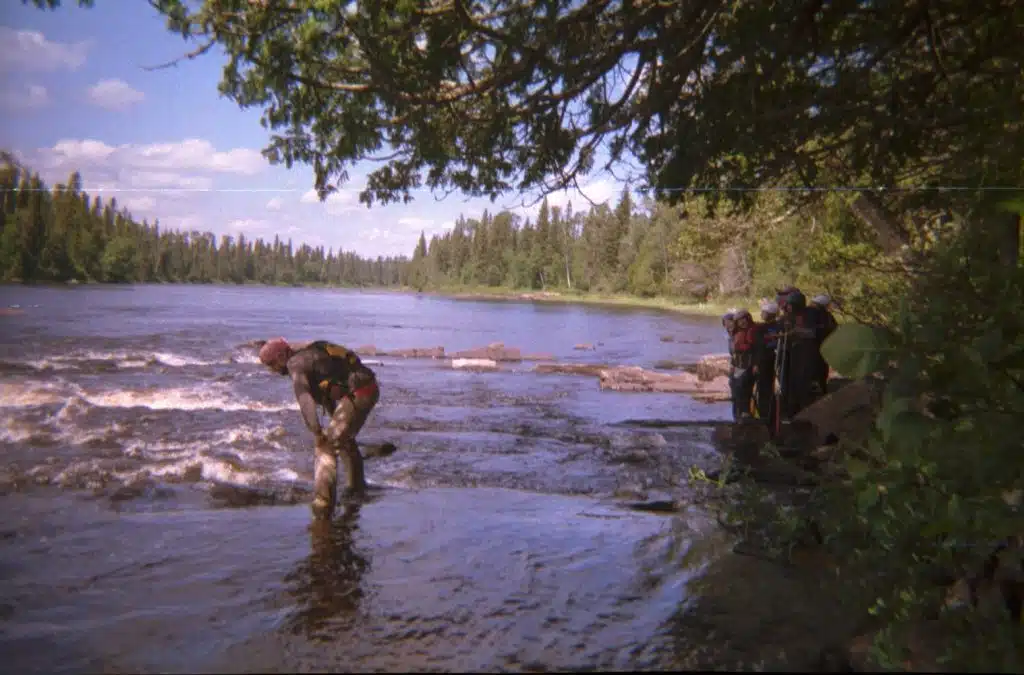
Scouting rapids from your canoe
When the rapid is a Class I or a short Class 2, you may be able to scout from the boat (if it is safe to do so). Although it is common for the paddler to stand up in the canoe to see through to the end of the rapid, it is important that you do this safely. You don’t want to tip before starting the set!
The most important thing with scouting from the boat is that you have an unobstructed view all the way to the end of the set. That way, if someone were to tip, you know exactly where they’ll end up.
Read more: How to Get Started in Whitewater Canoeing
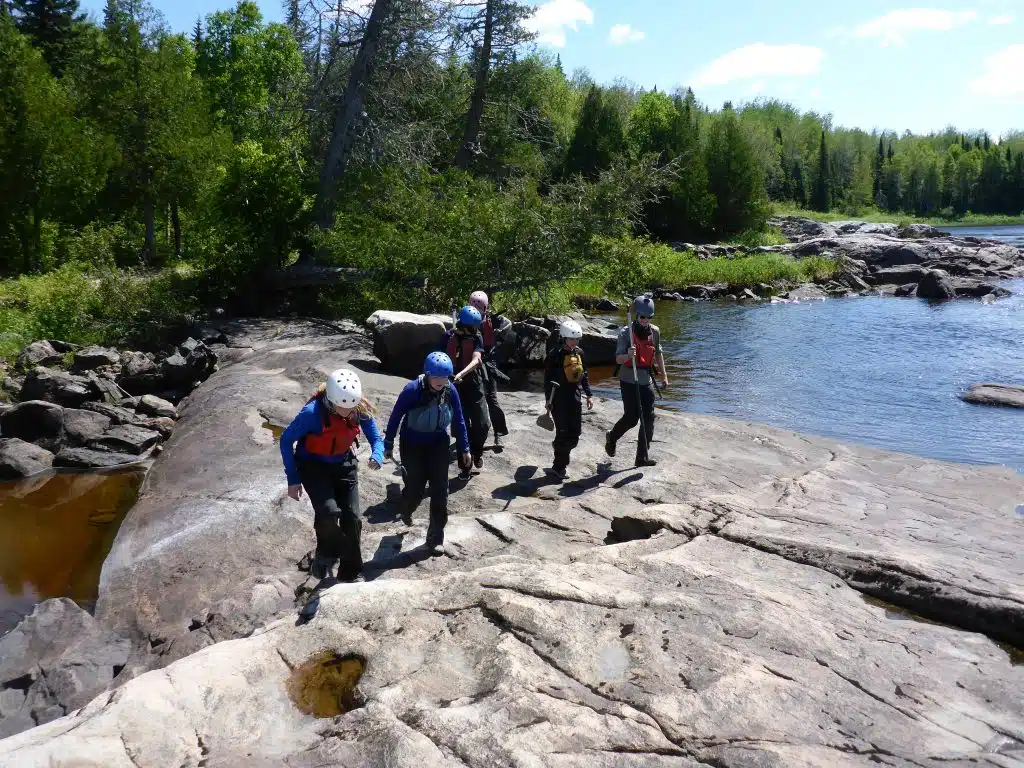
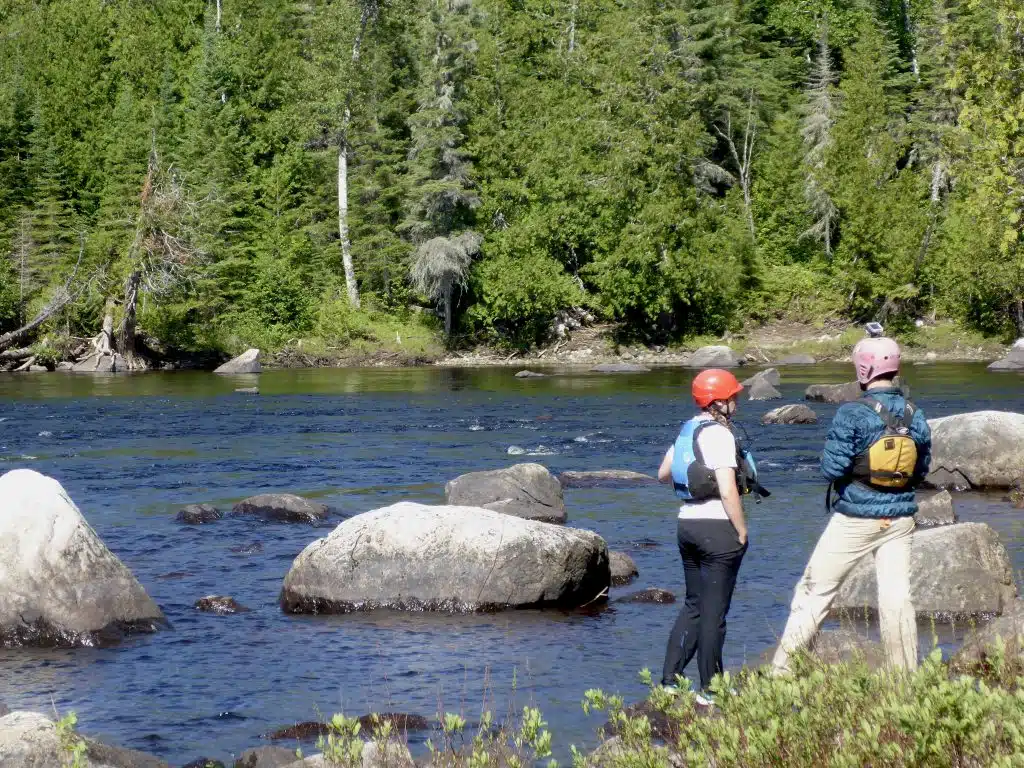
Scouting rapids from the shore
Anything bigger than a Class I or short Class II should be scouted from the shore. Get out of your canoe upriver from the set (typically at the portage trail). First, walk all the way to the end of the set, scanning for obstacles. You’re looking for any Red Flags that would indicate a no-go.
What constitutes a Red Flag often depends on your group’s skill level. If you’re new to paddling and scouting rapids though, you’ll want to follow the same procedure as I do when I’m paddling with campers.
Here’s what I do: If someone tipped upstream of the feature, what would happen? Would they swim all the way to the end of the rapid, without the chance of encountering something dangerous in the water? If the answer is no, we’re portaging.
If the answer is yes, then we continue scouting the rapid. Here’s an example. When I’m guiding, I never paddle rapids that have large strainers in them. A strainer is an object in the water that allows water to pass through but would stop an object like a boat or a swimmer. If someone tipped upriver to the strainer, they could get caught in the strainer and drown. That’s a Red Flag.
If I’ve gotten to the end of the set without any Red Flags, work backwards up the set to determine the “line”. The “line” is paddler talk for the route you’re aiming to take (though keep in mind this won’t always go as planned!)
Read More: Guide to Rapid Classification (With Pictures & Video)

Running the rapids
Once you’ve determined how to get down the rapid, and what safety you’re going to set up, you can start paddling. If the route was scouted from the shore, I typically have my group go down one boat at a time.
Either I or my guiding partner will go down first (we’re the most experienced so the least likely to tip, and then we can paddle to pick up anyone that’s fallen out during the set).
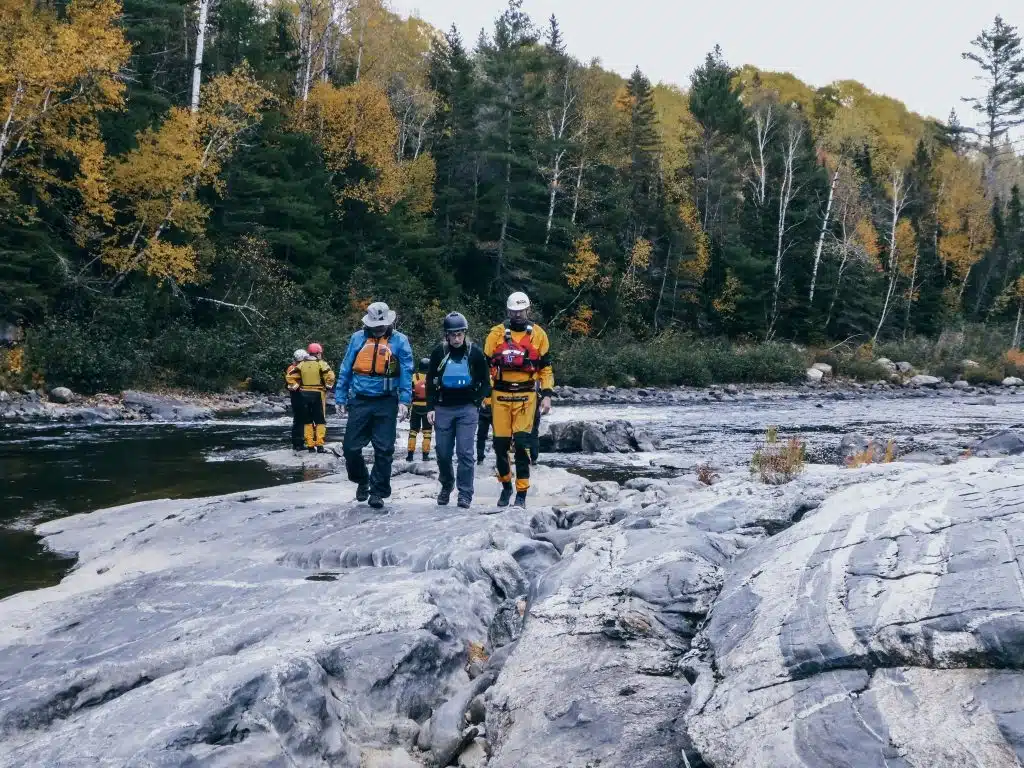
If you’re serious about paddling fun rapids regularly, I’d highly recommend doing an introduction to whitewater paddling class or a whitewater safety course.
You will learn so much about doing rapids safely, which means you’ll be able to do bigger and better sets.
Read more: Swiftwater Rescue Training: Everything You Need to Know

Scouting Rapids – Final Thoughts
Remember that you can’t learn how to safely paddle whitewater from the couch. You need to get in the boat, take lessons, practice and practice. That said, I do hope this post has helped you understand what goes into scouting rapids.
If you want more canoeing resources, download my canoe trip planning and accompanying resources!
MY FAVOURITE GEAR
Fleece Sweater
Down Jacket
Hiking Boots
Hiking Shirt
Back Pack
Hiking Pants