
Big Sur is known for its breathtaking coastlines along Highway 1, so most visitors to the area stick to the stops along the road. However, the Big Sur area is also home to some fantastic backpacking trails, one of which is the Pine Ridge Trail in Los Padres National Forest which goes to Sykes Hot Springs.
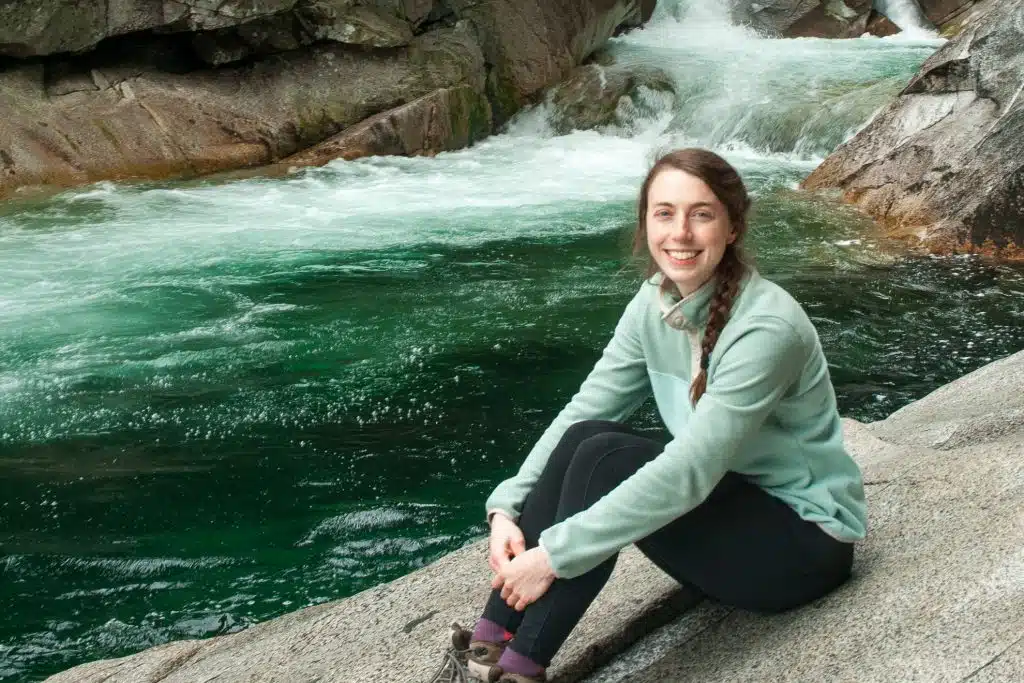
This September I backpacked from the trailhead at Big Sur Station to Sykes Camp, a journey of 9 miles each way. It was a moderately challenging trail, with a decent amount of elevation gain and the hot sun beating down on exposed ridges. Despite the challenges, this was a fantastic backpacking trip with gorgeous views, natural hot springs and a nice campsite.
In this post, I’ll provide you with all the information you need to take a trip to Sykes Hot Springs yourself!
- Trip Video
- Route Summary
- About the Area
- Map & Permit Info
- Trip Report: Big Sur Station to Sykes Hot Springs
- FAQs and Tips
- Packing List
Trip Video: Backpacking to Sykes Hot Springs
Here is a video I made about the trip. As you’ll see, it was a sweaty hike with a few twists and turns but it sure was beautiful!
Route Summary
Below is a summary of the route to Sykes Hot Springs, though you can find more detailed information in the Trip Report section below.
Starting Point: Big Sur Station
Ending Point: Big Sur Station
Campsite: Sykes Camp
Total Distance: 30.4 km / 18 miles
Elevation Gain: 1598 m
Duration: 2 days / 1 night

This post may contain affiliate links. If you make a purchase through one of these links, I may receive a small commission at no extra cost to you. Your support is much appreciated! You can learn more by reading my full disclosure.
About Sykes Hot Springs and Los Padres National Forest
Where are Sykes Hot Springs located?
Sykes Hot Springs is along the Pine Ridge Trail, which is a popular trail in Los Padres National Forest, near Big Sur California. Los Padres is about 2.5 hours south of San Francisco. The trailhead is at Big Sur Station, which is directly off of Highway 1 and very easy to find.
Traditional Territory: This trail is located on the traditional territory of the Esselen (source).
What causes Sykes Hot Springs?
Hot springs are the result of geothermal activity. Subsurface magma located below the ground heats groundwater. Since hot water is less dense than cold water, it rises to the surface (along with steam). If the water breaks through the surface of the ground, it can create hot springs, geysers, mudflats and fumaroles (source).
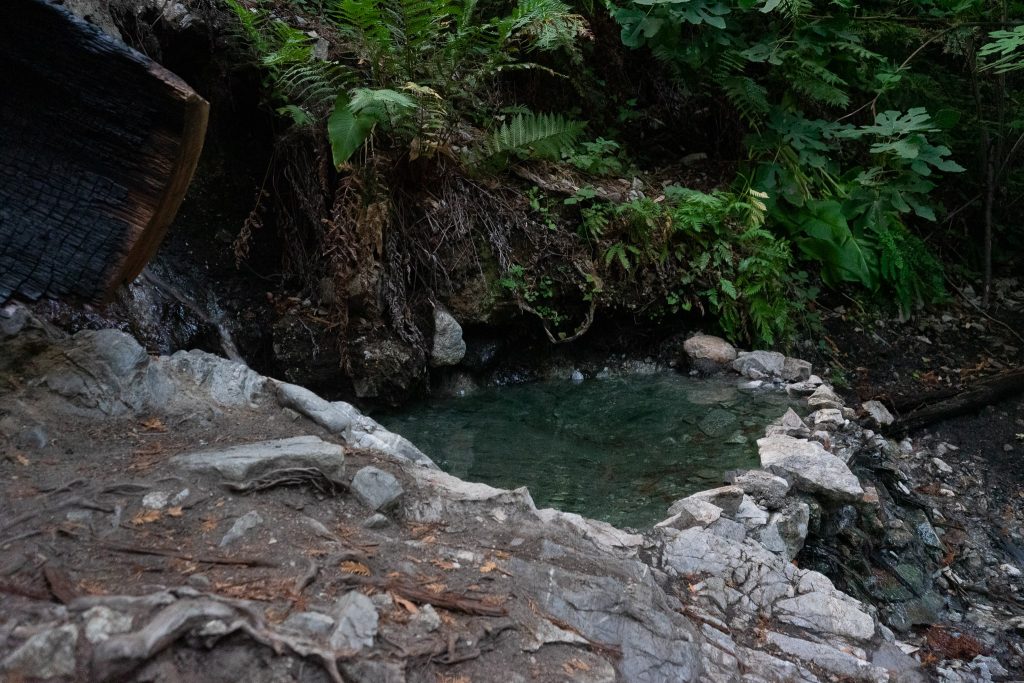
At Sykes Camp, there are a few places where heated was has broken through the surface and flows down the sides of the riverbank, toward Big Sur River. In a few places, the uneven nature of the ground causes the hot water to accumulate, causing small pools (too small for humans to enjoy).
Some people have strategically placed rocks around the naturally forming pools so more water accumulates, making the pools large enough for a few people to sit and enjoy.
Map & Permit Info
Pine Ridge Trail Map
I used the AllTrails Map. I recommend getting the Pro version of AllTrails so you can download the map to your phone. There is also a paper map available. I’ve also made a Google Maps of my route, however, you shouldn’t rely on this one for navigation.
Permits
You do not need any permits or reservations for this route. There is a self-registration for hikers at the trailhead (there is a short form to fill out and place in a wooden box).
If parking at Big Sur Station, you’ll need to pay $10 per calendar day your car is parked. At the parking lot, you put cash in an envelope, rip the permit from the envelope and place the envelope in a wooden box. The permit has two parts to it: one part goes on your dash and the other stays with you.

Trip Report: Big Sur Station to Sykes Hot Springs
Day 1: Big Sur Station to Sykes Camp (15 km)
I drove from Monterey to Big Sur on Saturday morning. After making a few stops (the most notable of which was at the Big Sur Bakey), I reached Big Sur Station a little before 1:00 pm. After paying for parking at the station (remember to bring cash!), I changed into my backpacking clothing, threw on my backpack and hit the trail.
The trail began at the large sign at the southeast corner of the parking lot. Here you can view the map (but you should have your own copy) and register. There wasn’t a fee for using the trail; the registration is meant to help the conservation officials know who is on the trail.
The first part of the trail was quite tedious. I descended into Pfeiffer Beach State Park and walked through the park to access the trailhead. The trail normally scoots around the perimeter of the park, however, there are rewilding efforts in that area right now so that part of the trail was closed. There was a well-marked detour cutting through the park. After about 10 minutes, I found the Pine Ridge Trail again.

The first section of the trail was surprisingly gruelling. Between KM 1 and KM 4, I gained almost 400 m of elevation – which normally wouldn’t be a problem, except that California is so damn hot. It was a hot, sweaty slog.
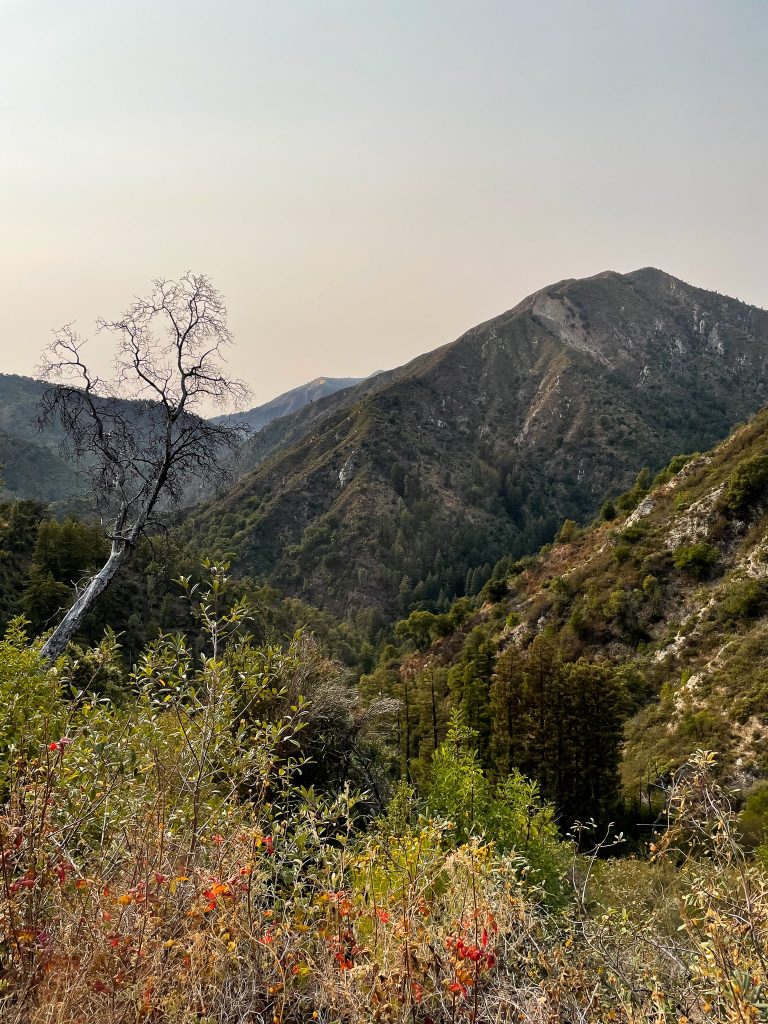
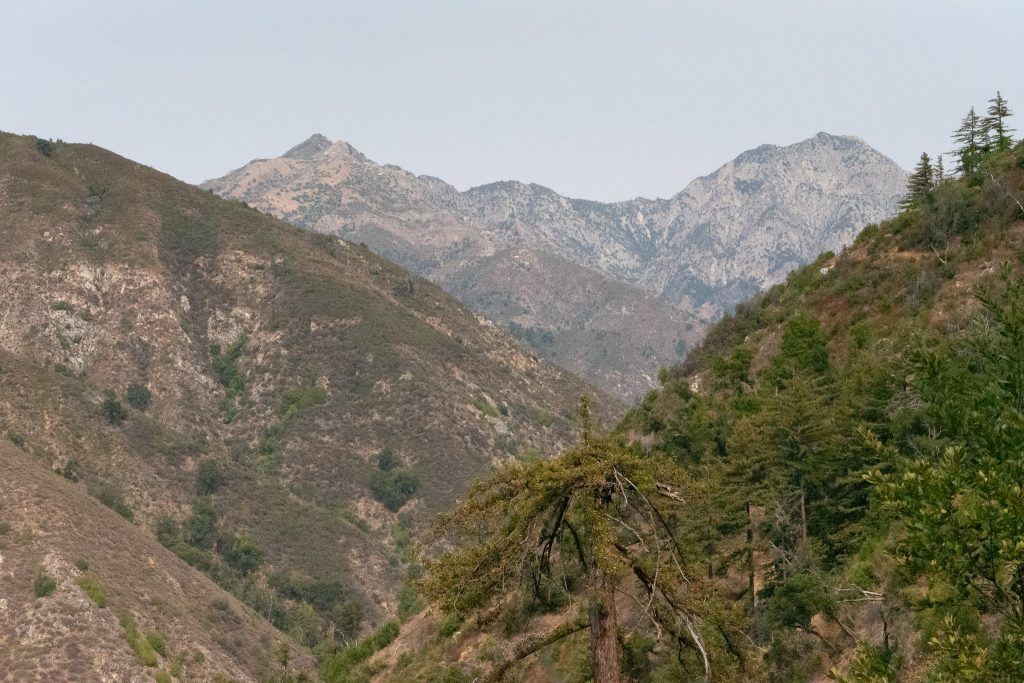
Between KM 4 and KM 9, the trail was absolutely beautiful. There were regular ups and downs (though the trail mostly trends upwards), but I was on a ridge with a great view of the mountains and the redwoods throughout. At KM 6 there was a sign pointing out the turn for Ventana Camp. This is a side trail you can take down the ridgeside to Big Sur River and camp at. However, I was going much further so I stayed along the main part of the trail.
Around KM 8, the trail passed by Terrance Creek and Terrance Creek Campsite. This is a great place to refill your water bottle (filter or purify before drinking, of course). I had about 1.5 L so I didn’t need to refill.
Between KM 9 and KM 10.5, the trail descended about 150 m to the second camp, Barlow Flat Camp. This is where the trail got confusing. First, the trail cuts over Logwood Creek. That much is straightforward. Next, the trail comes to Big Sur River, across which is Barlow Flat Camp. Both the paper map and the AllTrails map have the trail continuing on the south side of the river. This is incorrect.
The trail actually crosses the river (the water level is very low and there are lots of stones to step on, so your boots won’t even get wet). After crossing the river, the trail goes forward a bit and then veers to the right. This part is fairly obvious. After walking straight for 150 m or so, you’ll see a bend in Big Sur River; the river is very narrow here and there are stones placed across the river so you can cross it again. Now you’re back on a very obvious trail.
I lost about 25 minutes trying to figure out this section. My plan had been to take a nice long break after getting through the camp, as the next section was to be the steepest part of the trip. Since I’d lost some time, I didn’t take a break and began a hot and sweaty march up the side of the mountain. Since the next section is so difficult, refill your water bottle at Big Sur River if you’re running low!
The steep section stretched from KM 10.5 to KM 12.5 and during this time it climbed about 230 m of elevation gain. Normally I wouldn’t consider 230 m of elevation gain to be so difficult, but the exposed ridge and the beating California sun made this section really difficult. For part of it, I was counting my steps and allowing myself to break every 100 steps. It was challenging!
I was so relieved when I got to the “peak”. At this point, I was at an elevation of 520 m and had a nice view of the surrounding mountains, though the view was very similar to what I’d seen in the middle section of the trail. After drinking more water, eating some dried mango and being annoyed by gnats, I started the final section of the trail.
Between KM 12.5 and KM 15, the trail descends about 200 m. I hiked this section quickly, although I was feeling impatient to get to the campsite so it felt slower than it actually was. As I was descending a switchback on the side of a ridge, Big Sur river came into view again and I could see a sign that said Sykes Camp. Aha! Made it in just under 5 hours.

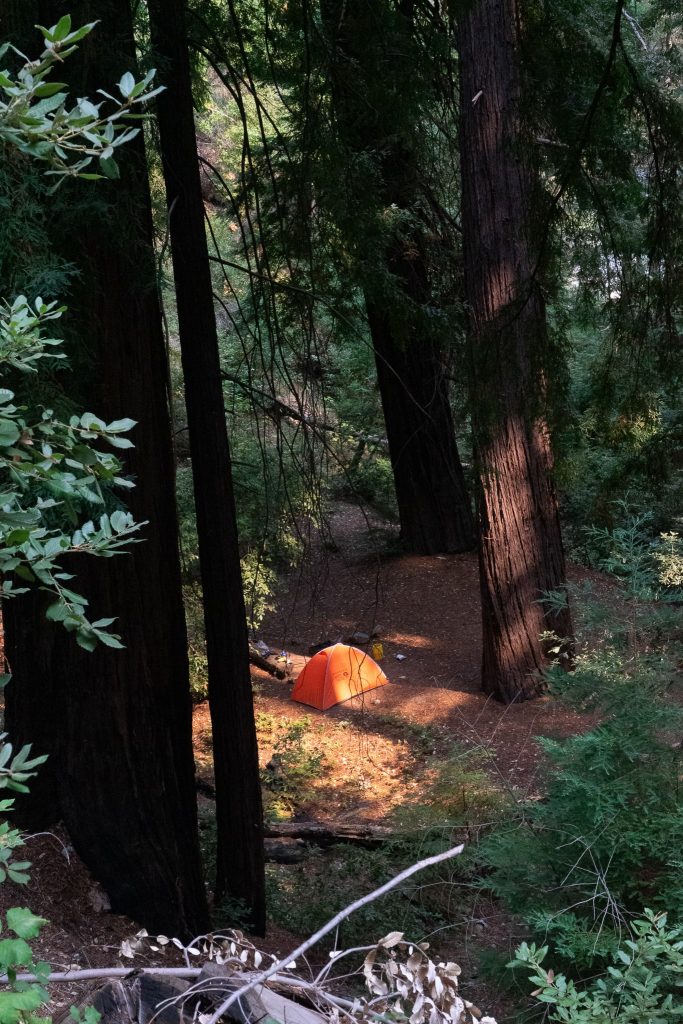
Sykes Campground
There were tons of places to pitch a tent at Sykes, though I kept things really simple and took the first flat expanse I could see. In this flat space, there were three other tents pitched and we were all about 15 m from one another. If you walked further in either direction, there were more places to pitch tents. I was feeling tired and sore and was keen to get to the hot springs, hence setting up my tent in the first place I saw. The campground also had a not-very-private thunderbox.
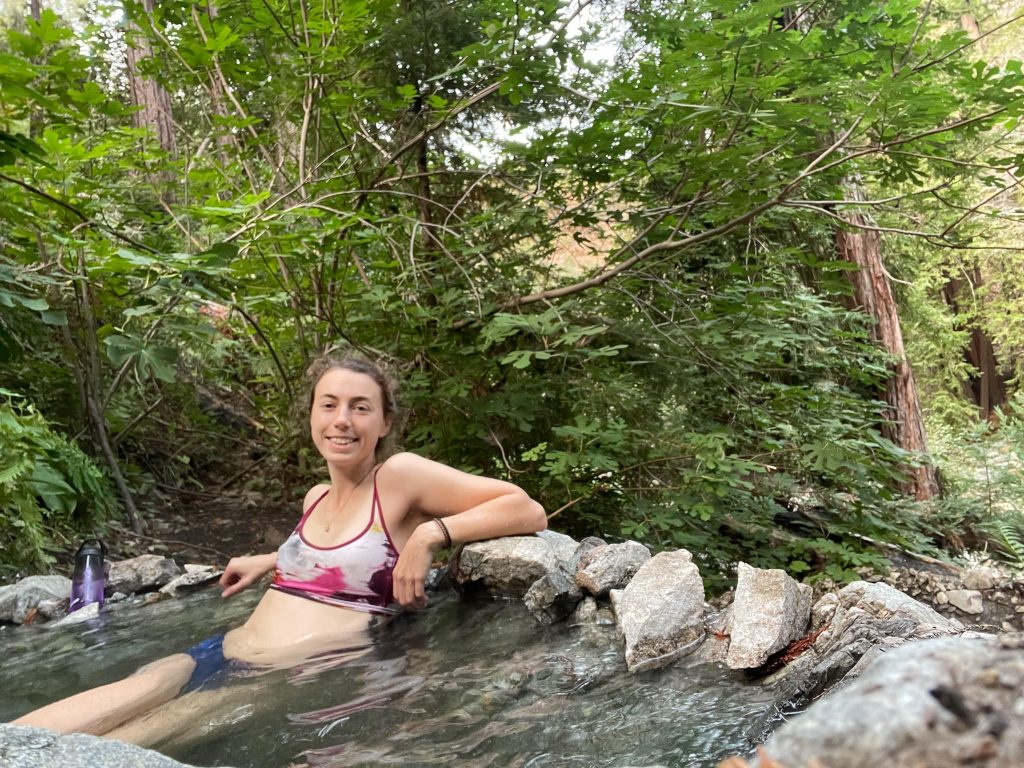
Once my tent was set up, I made the trek to the hot springs. The hot springs are about 600 m from the main camp. The trail was difficult to follow, but if you stay parallel to the river and just keep walking upstream, you’ll come to the hot springs.
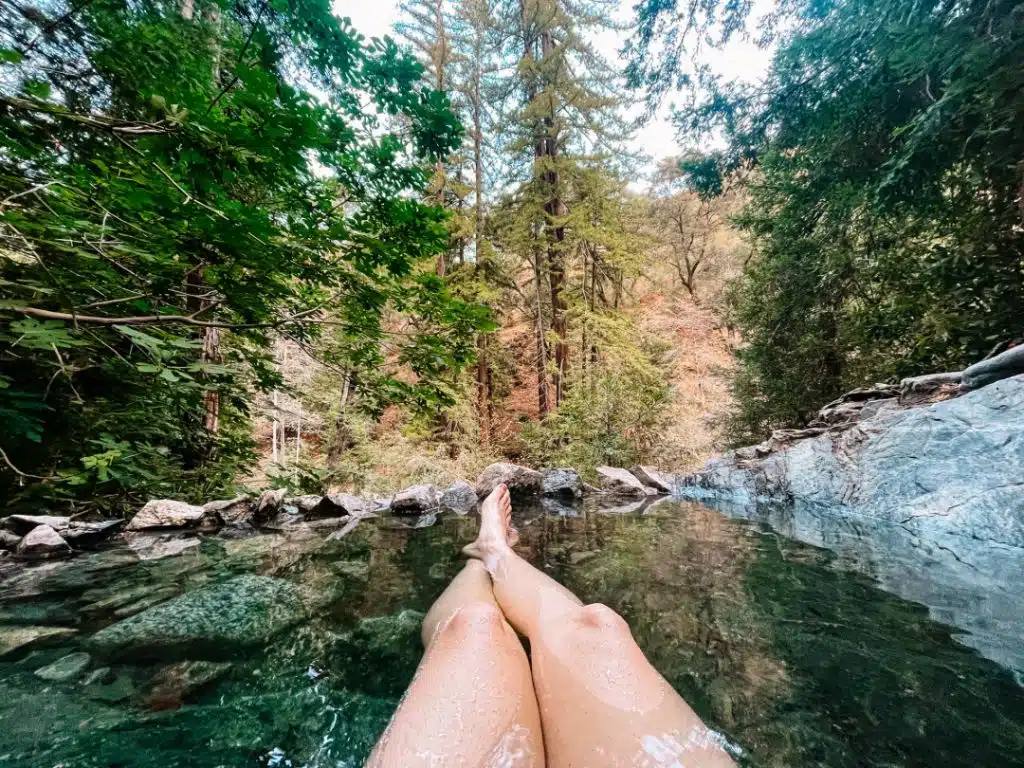
There were two ‘upper’ pools and one ‘lower pool’, all of varying sizes and temperatures. I plopped myself in a hot pool with two other women. Across the three hot pools, there were 11 people I believe. There was enough room for everyone, though you were quite close to other people. No one seemed to mind and we chatted about the hike in and living in California. After about two hours of sitting in the hot water, my feet finally felt healed and I was ready to walk back to my tent and have dinner. I hadn’t realized how dark it had gotten and struggled to find my way back to my tent with my phone flashlight (bring a headlamp to the pools!).
When I did reach my tent, I made dinner. I filled up my pot in the river and boiled water with my camp stove. Due to the drought and the high risk of forest fires, campfires are strictly prohibited.
If you want to bring a camp stove, you need to fill out a permit online ahead of your trip. It’s easy to do, but it does take a few minutes because there is a fire safety quiz you have to take before you’re issued a permit. Once I got the permit, I took a screenshot and kept it on my phone, though there was no one there to check my permit.
I had a mediocre pre-packaged Pad Thai. During preparation, I spilled some boiling water on my hand and had to sit with my hand in the river for 40 minutes. Thankfully I’d to downloaded a stand-up comedy to watch, so I didn’t mind sitting by the river for so long.
After dinner, I went to bed. I hadn’t set up the fly on my tent (what were the odds this night would be the first time California got rain in a year?) and there was a small opening in the trees above my tent so I could see a few stars. Although it had been burning hot all day, the evening was actually pretty cool. I wore a merino wool base layer and used a down sleeping bag, so I was very comfortable.

Day 2: Sykes Camp to Big Sur Station
I woke up incredibly early after an amazing 9 hours of sleep. Without much else to do, I took down my tent, packed my backpack and hiked back to the hot springs. Reaching them at 7 am, I was the only person there and had a lovely time having the whole pool to myself.
By 8:30 am I was ready to have breakfast and hit the trail again. I sat on the side of Big Sur River and prepared (terrible) oatmeal and a pot of coffee. Following breakfast, I (reluctantly) went for a plunge in the chilly river. It wasn’t as cold as a glacial lake in BC, but it sure was frigid.
But one of my favourite feelings in the world is drying off after an extremely cold swim. I got dressed, finished the last of my coffee and packed my stove away in my backpack.
To get back to Big Sur Station, I followed the Pine Ridge Trail in reverse. This time the trail was much easier. Yesterday’s difficult uphill section was now an easy downward stroll. There were two parts (KM 15 to KM 12.5 and KM 10.5 to KM 9) that were uphill now and a little tiring, though nothing like the previous day.
In this direction, the whole route took me just under 4 hours, about 20% faster than the day before. I reached my car a little before noon. After stopping at the Big Sur Bakery for a delicious and well-deserved avocado toast, I drove back to San Francisco, pleased with my first California backpacking trip!

Tips and FAQs for Hiking to Sykes Hot Springs
Leave No Trace
Recovering Environment – Pine Ridge Trail and Sykes Hot Springs only opened this September; there was a long period of closure after a wildfire. You will see signs of fire throughout the hike; for example, there are many trees still standing that have their outer bark completely burnt. Be extra careful not to disturb the regrowth; stay on the trails, and don’t pick any vegetation.
No Fires – As mentioned above, there are absolutely no fires allowed in Los Padres National Forest. If you do try to set up a campfire, expect to have a lot of angry hikers around you telling you to stop. Just don’t do it.
Pack Out Everything – Prior to the fires, the trail grew in popularity, and there was a tendency for people to leave garbage at camp and trash the trail. Please don’t do this. Bring an extra garbage bag so you can pick up any trash you see. Since I was on the trail the first weekend it opened, there wasn’t any garbage. I hope it stays that way.
Manage Expectations – Prior to the hike, I read that a lot of people found the hot springs ‘underwhelming for the amount of work it takes to get there. Remember that these are natural hot springs, and as such, are not perfect little hot tubs!
Can you hike to Sykes Hot Springs in a day?
Yes, you can hike to Sykes Hot Springs as a day hike. There are plenty of people who do it (it’s actually more popular as a day hike than a backpacking trip, apparently).
Keep in mind it’s an 18 mile / 30 km round trip so you’ll have to start early in the day and be aware of how long you spend at the hot springs. The springs will also be busier during the day when other day hikers are there.
Also, some people complain that the hot springs aren’t worth the effort… but from what I’ve seen, it’s always day hikers making this claim. I agree! The hot springs alone are not worth 11 hours of hiking in a day. But when you combine the hot springs with a beer, a warm meal, a cozy tent and stars… well then it is most certainly worth the effort!
If you have the time and experience to do it as an overnight hike, I strongly encourage you to do that. It’s a great place to camp and so nice to break the journey up for two days.
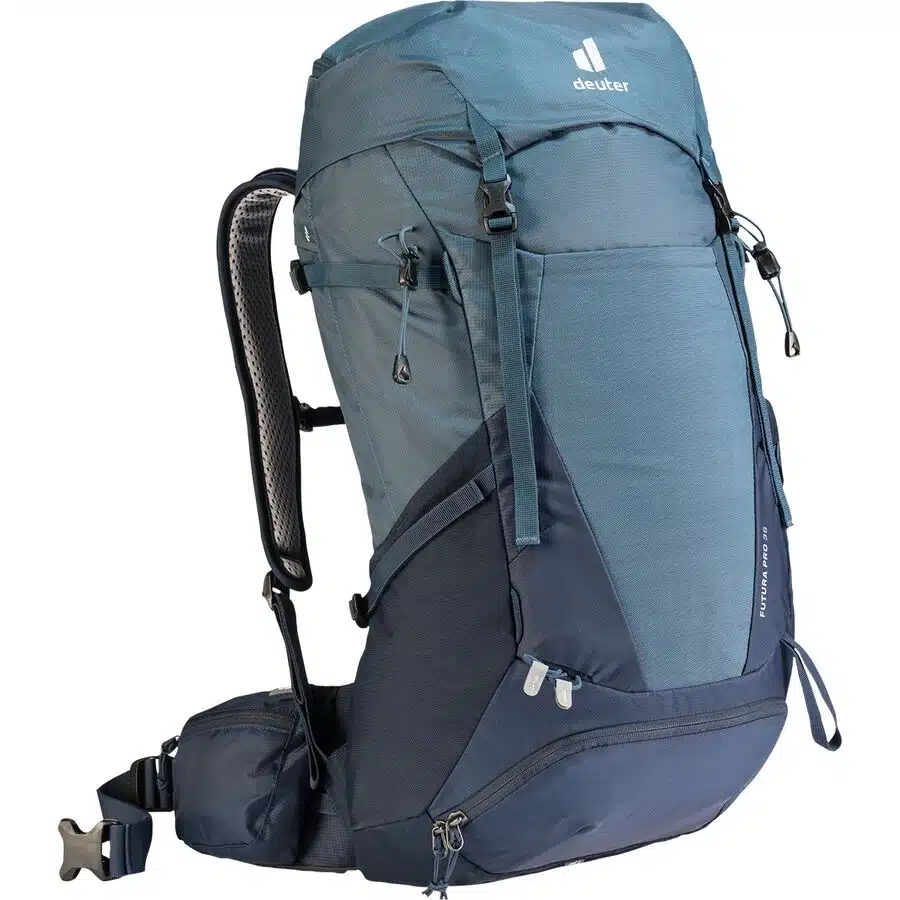
Packing List
Going Ultralightweight was Amazing – I packed extremely lightweight for this trip and it made the hike so much easier. While it would have been nice to have a pair of sandals for the campsite or a change of clothes, it was even nicer only having 20 lbs of gear on my back. You can read more about my lightweight setup here.
Here is everything I packed:
- 2-person backpacking tent
- Sleeping pad
- Sleeping bag
- Backpacking stove system + fuel + lighter + spoon
- 2 backpacking meals + snacks
- Merino base layers
- Sat phone + GPS
- Toothbrush + toothpaste + a few first aid items
- Extra pair of socks
- Headlamp
- Phone + headphones
- Water bottle
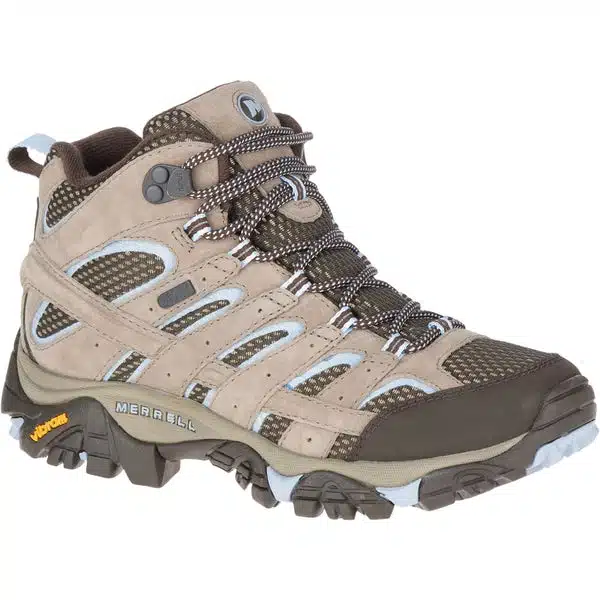
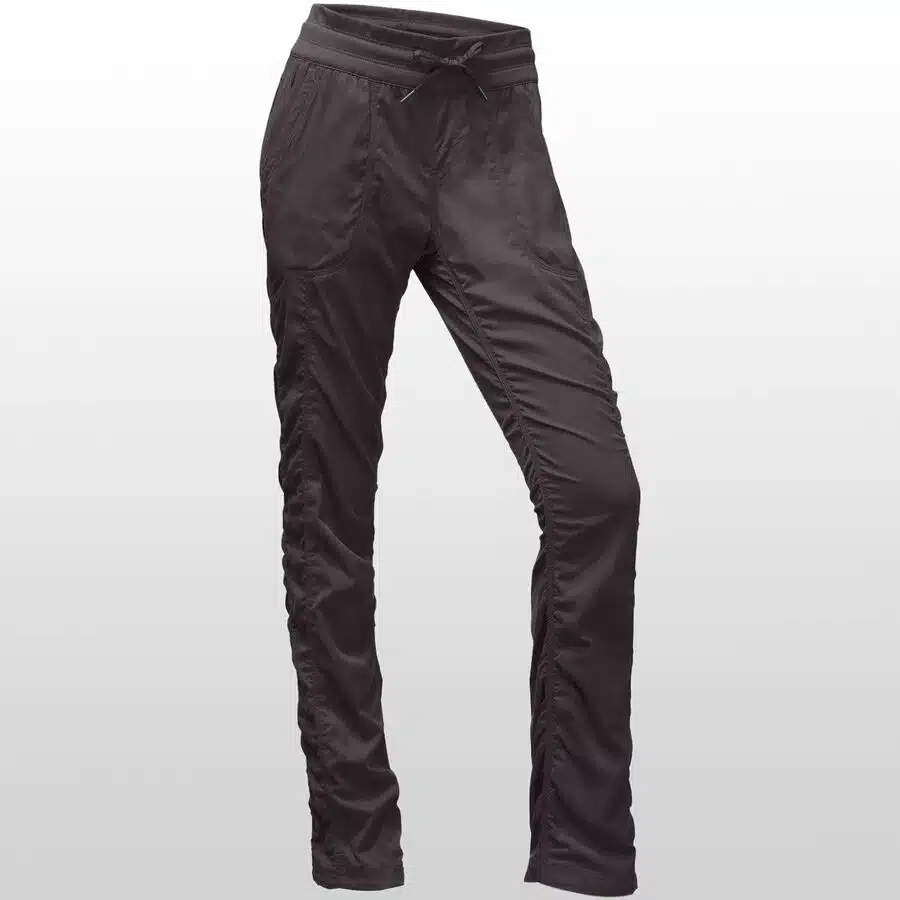
Here is what I wore:

Bring Sun Protection – Even in late September, it was still very hot in the afternoon. The trail is mostly on a ridge and provides little shade. To avoid getting burned, bring sunscreen and a hot. Also, I went through way more water than I was expecting. I brought two water bottles with a total capacity of 2L and a bot to boil water (I forgot my water purification tablets).
Bring a Headlamp to the Hot Springs – The hot springs are not near where most of the tent sites are. After two hours of chilling in the hot springs, it got dark very quickly and I ended up having to use my phone flashlight to get back to my tent (which was not easy – you could definitely get turned around!). Bring a headlamp and have a good idea of where you set up your tent.
Sykes Hot Springs – Final Thoughts
Overall, I had a wonderful time backpacking to Sykes Hot Springs. If you choose to do the hike yourself I hope you have a wonderful time – just please be kind to the environment, leave no trace and pick up any trash you see.
Additional Hiking Resources
- A 10 kg Backpack & My Introduction to Ultralight Backpacking
- Hiking Clothing 101: What to Wear Hiking & Backpacking
- Never Forget Something Again: The Ultimate List on What to Pack for a Hike


Stay in Touch
Join our community of outdoor adventurers - you'll find trip inspiration, gear discussions, route recommendations, new friends and more!
really appreciate this well thought out and clear article. thank you for taking the time to share.
Thank you! I’m glad you found it helpful!
Thank you so much for this post! Would love to take this trip soon, but I’m guessing it’s cold out there now. How soon would you recommend going? Maybe springtime?
Yeah I would recommend February or March would be great – I went in September and even then it was really warm during the daytime.
Silly question, but does one just go off the trail if they need to do their “business” with a shovel.
Yeah you can just follow normal Leave No Trace poop in the woods protocol. Leave the trail a bit, dig a hole about 6 inches deep, do your business, fill the hole. For toilet paper, you can pack out your toilet paper (bring some paper bags in a ziploc bags to put it in).
Thanks for this clear and informative write up! Just came back from hiking this trail over Thanksgiving weekend and knew what to expect thanks to you.
Thank you for the kind words! I hope you had a really good trip!
Found this extremely well written! Straight to the point with plenty of useful information. Love the packing list at the end! First time going and very excited thank you for the post