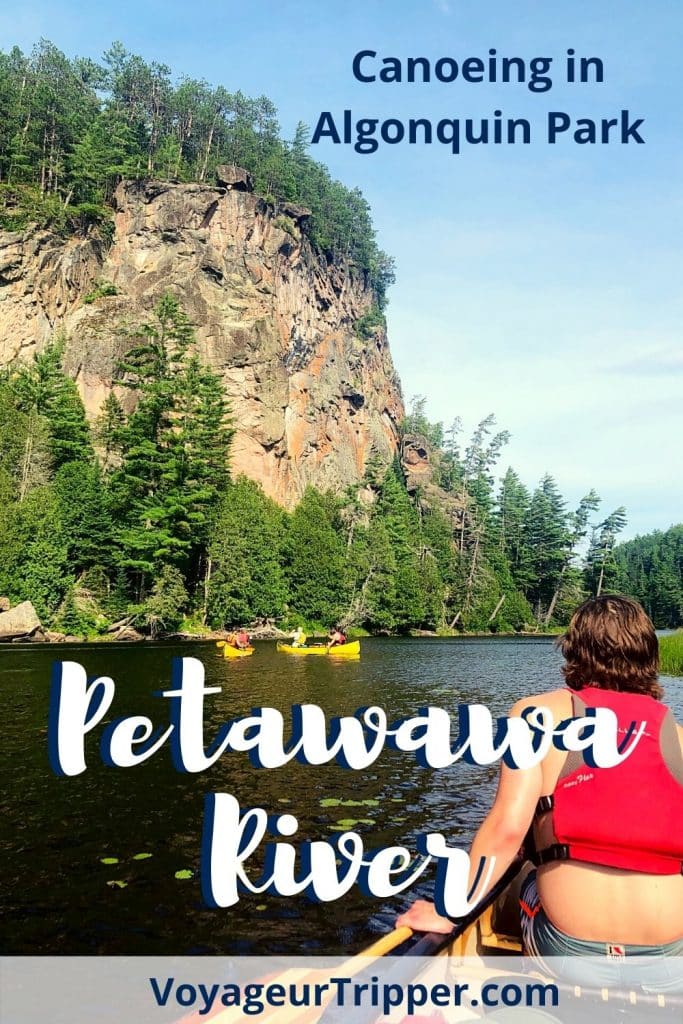
I’ve just returned from a four-day trip canoeing the Petawawa River, and let me tell you, that river does not disappoint. With tons of challenging (but manageable) sets of rapids and gorgeous scenery, this ~relatively~ untraveled pocket of Algonquin is a real treat.
In this post, I’ll go over the route we took, some notable features, what we packed and my detailed trip log. I’ve also created a video from the trip, which you can watch below. I hope you find all this information helpful!

This post may contain affiliate links. If you make a purchase through one of these links, I may receive a small commission at no extra cost to you. Your support is much appreciated! You can learn more by reading my full disclosure.
Petawawa River Canoe Route
Further down in this post you’ll find a detailed day-by-day trip log, but here is a quick overview of the canoe route we took and what it involved.
Quick Facts
- Put In: Travers Lake
- Take Out: McManus Lake
- Length: 49 km
- Duration: 3 – 4 days
- Difficulty: Intermediate
- Resources: Petawawa River Guide Book and Algonquin Canoe Routes Topographic Map (both can be purchased at park)
- Map: Click here to view the interactive route map in a new tab.

Traditional Territory: The Petawawa River (and all of Algonquin Provincial Park for that matter) is located within the traditional territory of the Algonquin, Huron-Wendat and Anishinabewaki.
Route at a Glance
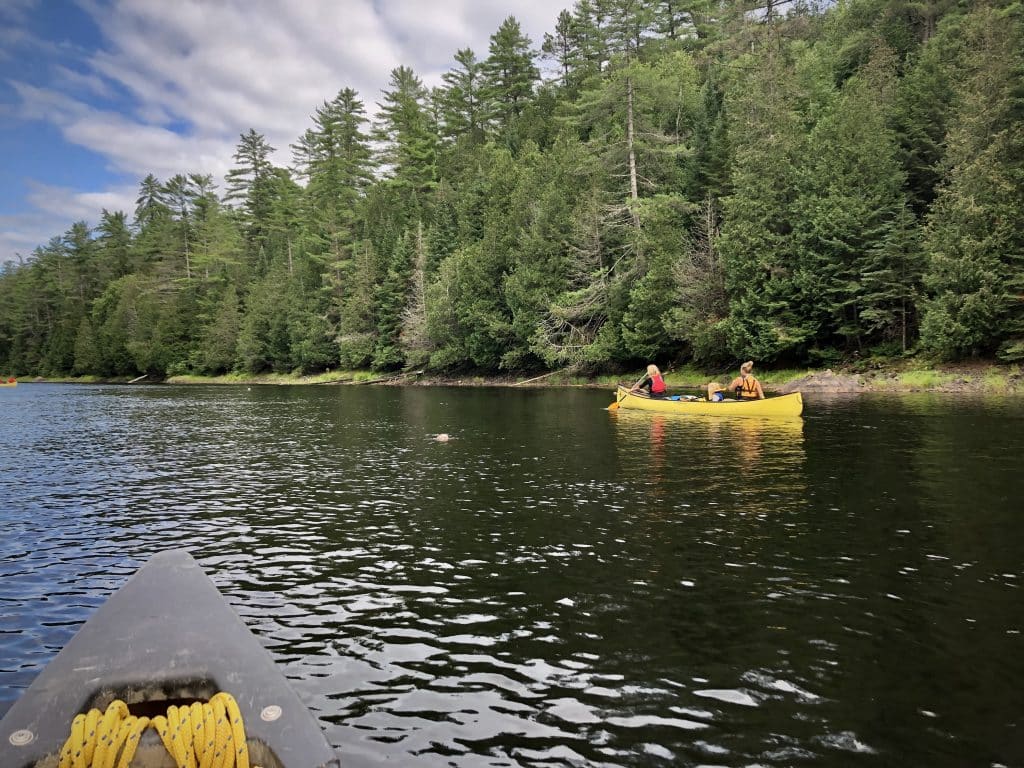
The Petawawa River is located in the north part of Algonquin Provincial Park. It starts as a small creek on the northwest of the park, increasing in size and current as it flows eastward.
The Upper Petawawa is really more of a series of interconnected lakes – which could be a great destination for a flatwater canoe trip. However, if whitewater is what you seek, you’ll want to start further downriver (or extend your trip to 8-10 days and do the entire river).
The most common route goes from Travers Lake to McManus Lake, both of which have excellent places to put in and take out canoes. The route is 49 km in length, with a mix of lake paddling, Class I and Class II rapids, and strong swifts.
Here is what we did:
Day 1: Lake Travers to Big Thompson
- Put in at Lake Travers at 2 pm
- Flatwater paddling on Lake Traverse
Day 2: Big Thompson to Crooked Chute
- Big Thompson Rapids – Long but relatively easy
- Little Thompson Rapids – Shorter but slightly bigger drop than Big Thomspon
- Grillade Rapids – Short C II, scouting recommended
- Crooked Chute – Chute you don’t want to go down. Swift / C1 upriver can be paddled, but ensure you get out before the third (and last) takeout (we lined the last section)
Day 3: Crooked Chute to Schooner
- Crooked Chute Portage – Easy but with one steep section
- Rollaway – Long Class II, definitely scout
- The Natch Rapids – Two rapids near one another, we lined first one and paddled second
- The Natch – Beautiful cliff
Day 4: Schooner to McManus Lake
- Schooner Rapids – Easy Class I that stretches for a while
- 5 Mile Rapids – Actually only 4 km, Class I / Swift
- Takeout at McManus Lake
Note: Rapids change a lot depending on water levels, meaning the Class of rapids can change too. I’ve written about the rapids as we experienced them, but remember to always scout and paddle within your abilities.
Guided or Self-Guided
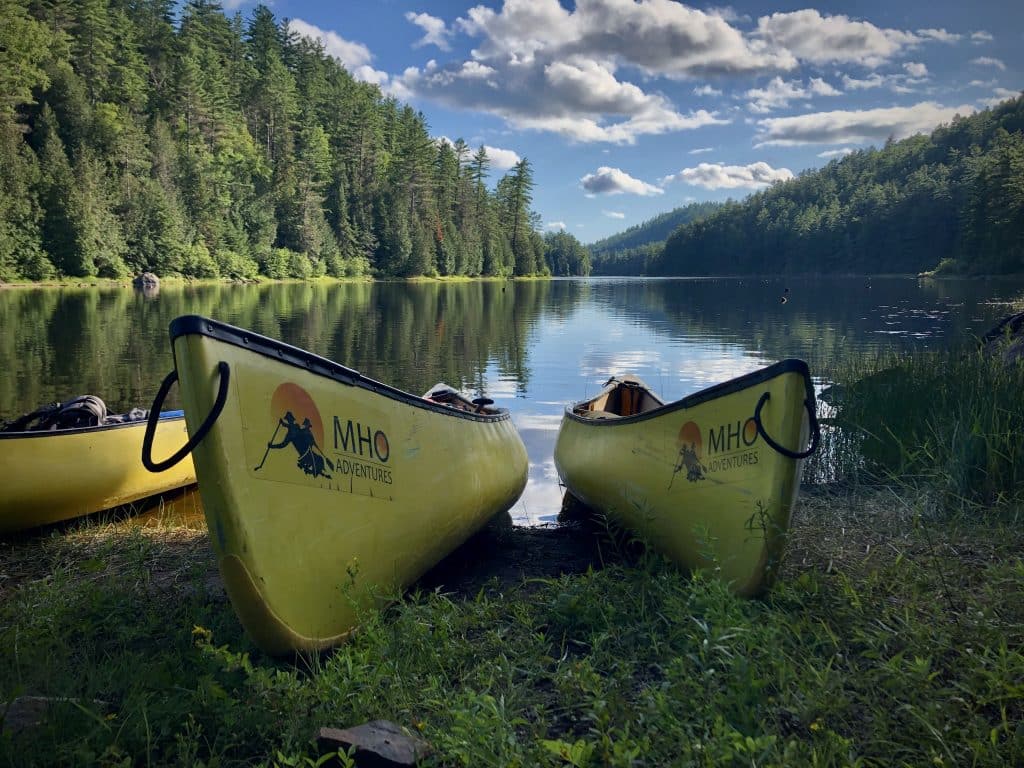
I’ve been paddling whitewater for some years now. But my dad and brother, on the other hand, had only paddled flatwater and were keen to try whitewater themselves. Getting started in whitewater canoeing can be difficult, especially because there is so much gear and the mistakes in moving water can be fatal. So for simplicity, we booked a whitewater trip with MHO Adventures on the Petawawa River.
But while we had two guides (and three other participants) with us on this trip, you could easily paddle it without a guide if you have the whitewater skills (or portage around all the rapids). If you don’t have the skills, I strongly encourage going with a guide and cannot recommend MHO Adventures enough.
Petawawa River Trip Video
Petawawa River Canoe Trip FAQ
What skill level do you need for canoeing the Petawawa River?
You should have some experience canoe tripping if you will be doing the whole route. There are well-maintained portages around all the rapids, so this route could be completed by paddlers without whitewater experience. However, that wouldn’t be much fun. If you want to do the rapids, at least someone in the group should have experience and whitewater rescue training. And you should be prepared with PFDs, helmets, throw bags, and a pin kit.
What are the parking / shuttling options?
If you have more than one vehicle, you could drive one to Lake McManus (the take-out) and then drive to Lake Travers (the put-in). Once the canoe trip is done, you can drive back up to Lake Travers to retrieve the other vehicle. There are also outfitters who can help you with the shuttle.
What Petawawa River outfitters are there?
We went with MHO Adventures, who were absolutely excellent. If you’re looking for outfitting without the guide, Algonquin Outfitters and Algonquin Bound are both good options.

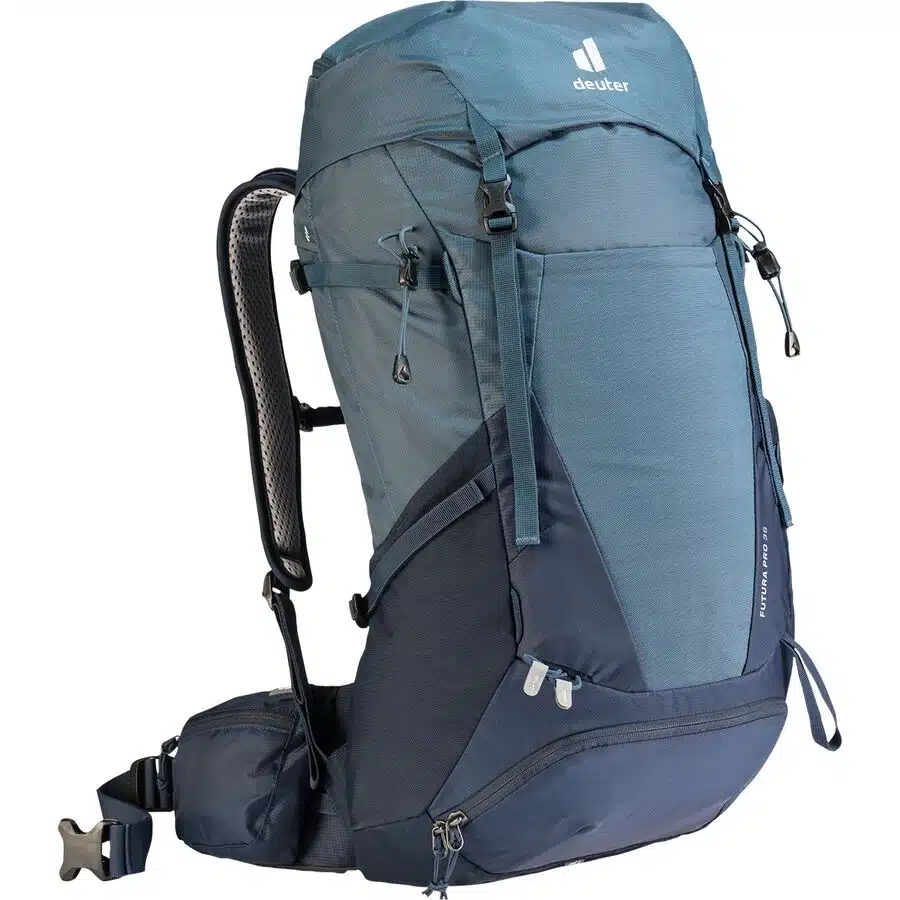
Petawawa River Packing List
I won’t go into too much detail on what to pack, because I have an entire post dedicated to packing for a canoe trip, but I’ll call out a few specific items you’ll want for paddling the Petawawa.
Canoe Gear
- Whitewater Canoe outfitted with knee pads and thigh straps
- Life Jacket
- Helmet
- Paddle
- Pin Kit
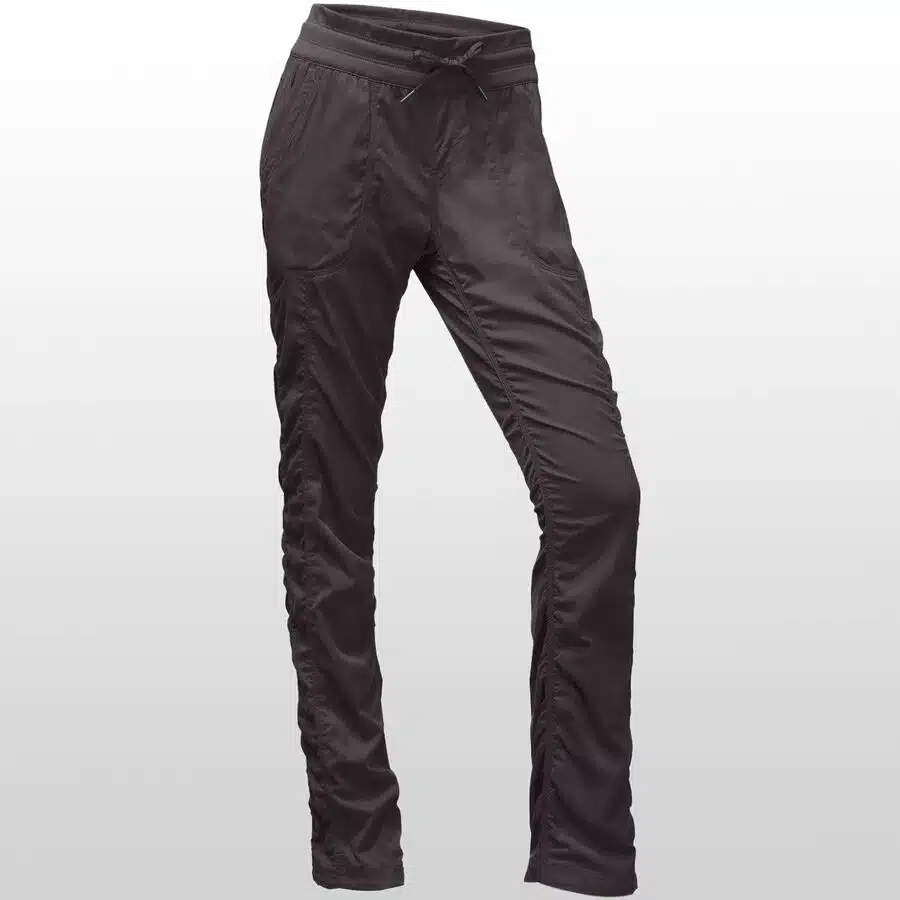
Clothing
- 2x quick dry T-shirts
- 1x quick dry Shorts
- 1x quick dry Pants
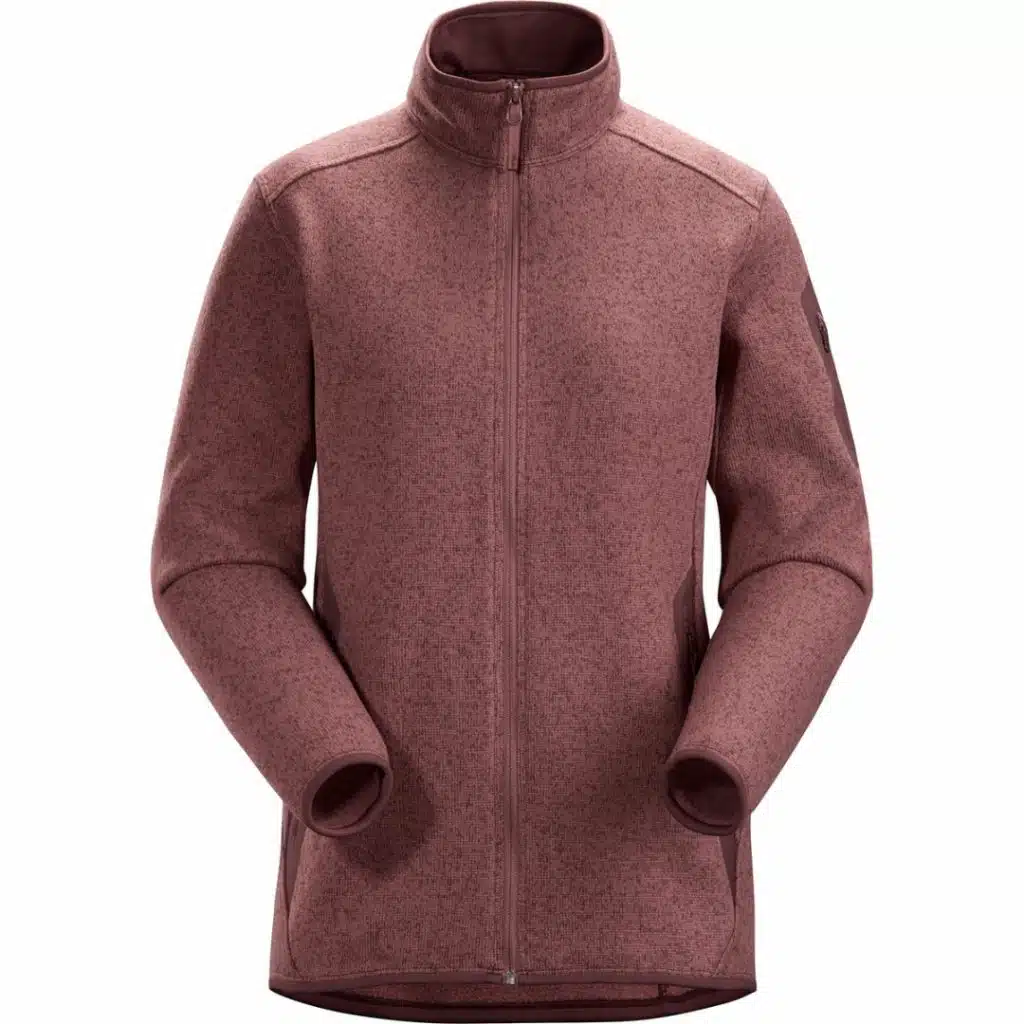
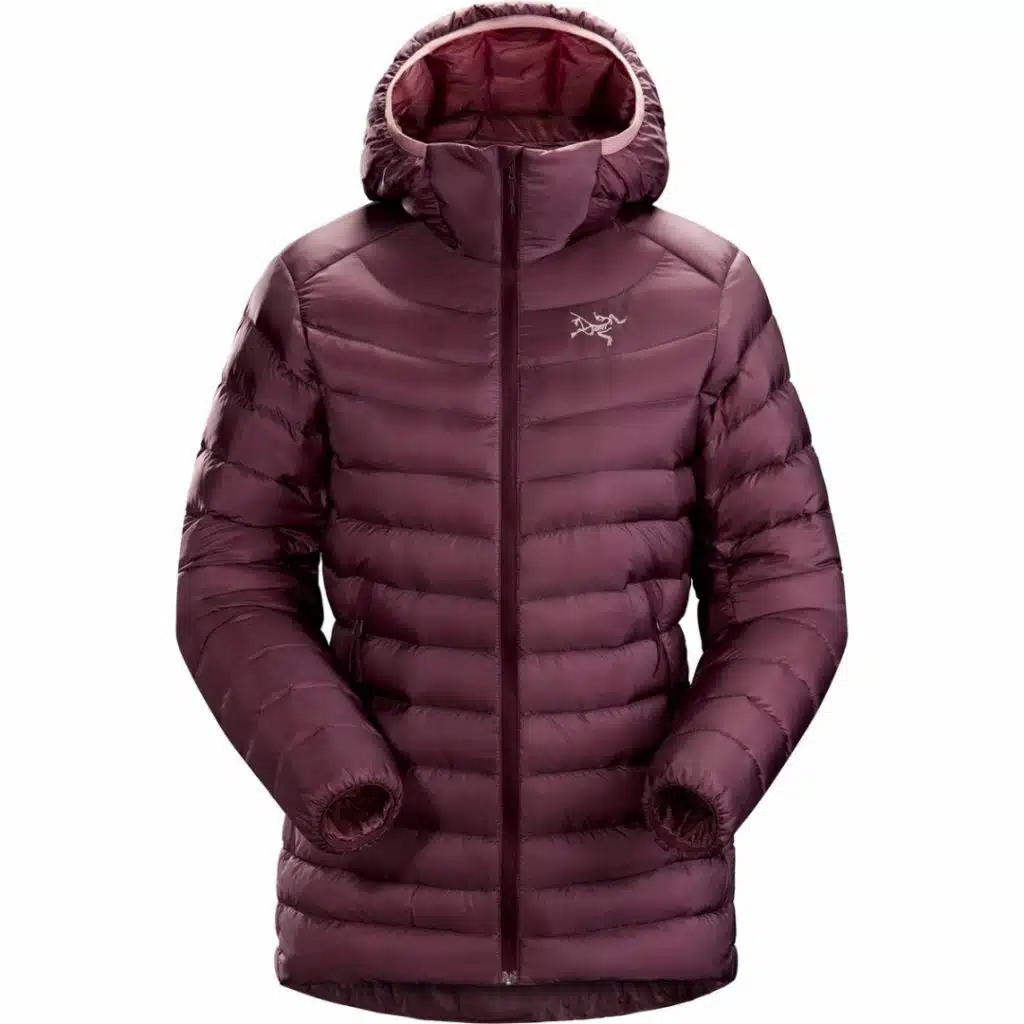
- 1x Insulating Layer (though I brought two – a fleece and a light down jacket)
- Rain Jacket + Rain Pants
- 3x Wool Socks
- Underwear
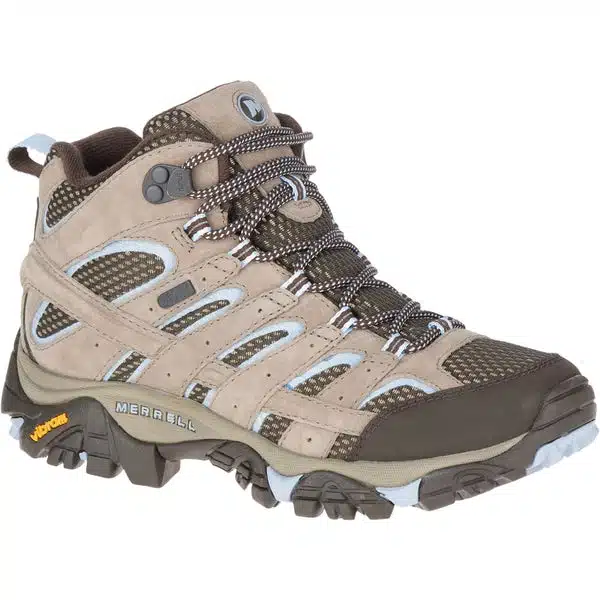
- Canoe Shoes (read this post for choosing the best canoeing shoes)
- Campsite Shoes
- Long Underwear / Pajamas
- Bathing Suit
Bra-wearing canoeists: I have recently discovered Merino Wool sports bras and I cannot recommend them enough. Supportive enough for long days paddling and portaging, but dry as quickly as a bathing suit. I have this one from Smartwool and this one from Patagonia.
Sleeping Equipment
- Tent
- Sleeping Pad (low R-value is fine)
- Sleeping Bag (rated can be 5 C or below)
- Compressible Camping Pillow
Camera Gear / Tech
Now that I record my trips for blogging purposes, I’ve started bringing a lot of tech with me on trip. Here is what I packed to capture all the photos / videos you see on this post.
- Canon Rebel with Kit Lens
- JOBY GorillaPod
- iPhone 8 + Charger
- GoPro Hero7 + Dual Battery Charger
- Power Bank
- Apple Watch + Charger
GoPro batteries have a notoriously short battery life, so if you want to film as many rapids as possible, get a power bank and GoPro dual charger. I brought this power bank and it charged my phone, smartwatch and GoPro every night and STILL had 50% of its charge left. I was super impressed.
Petawawa River Trip Report
Here is what our trip looked like day by day. We did the route in three nights / four days, but there are plenty of campsites throughout the river, so you could easily adjust this route to take only two nights.
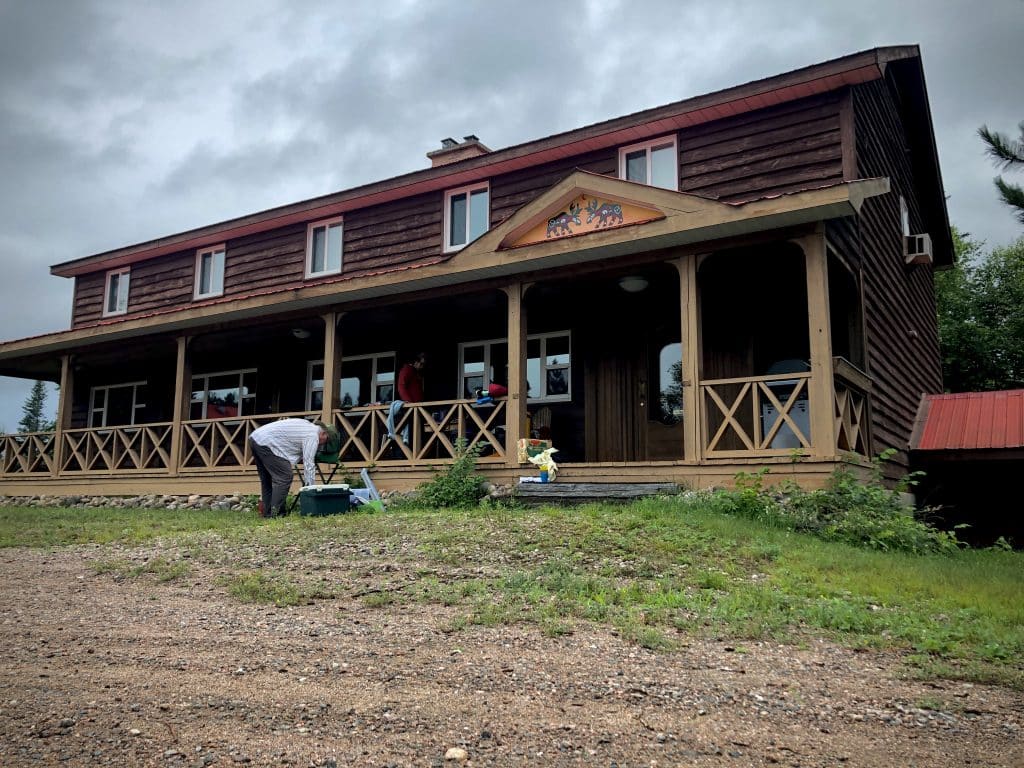
Day 0: Overnight at Algonquin Portage
Since the Petawawa River is so far from Toronto (and London, ON where my brother and dad were coming from), we drove up the night before. We stayed in cozy rooms at the Algonquin Portage Store & Outfitter.

Day 1: Travers Lake to Big Thompson Rapids (11 km)
After a delicious breakfast of bagels and smoked salmon (see above), we met our guides and the rest of the group at McManus Lake. We got our gear sorted and then loaded into their truck and van with the gear and canoes. (We left our vehicles at McManus Lake since we were ending our trip here.)
At Travers Lake, we had an excellent pre-trip lunch (good food is going to be a common theme) and got the thigh straps on the boats. We left the put in around 2 pm.
Travers Lake is deceiving long, and we had quite a bit of wind so it was a slow paddle to the other side of the lake. Eventually, we made it to Big Thompson Rapids, where the current of the river returns.
The Complication
Initially, we were going to stay at the campsite at Big Thompson Rapids, but upon arriving we found the site to be too small for the size of our group. We paddled upstream ~500 m to another campsite.
But then disaster struck. One of the families with us stepped on what must have been a buried or burrowed hornet’s nest because all four of them got attacked by hornets. The mom was allergic to bee stings and had to be evacuated.
So we paddled 1 km back on Travers Lake. We found a campsite here and set up camp, while one guide and one participant (coincidentally an emergency doctor!) paddled the family to the put-in where they were met by EMS. From what I’ve heard they are all doing well now.
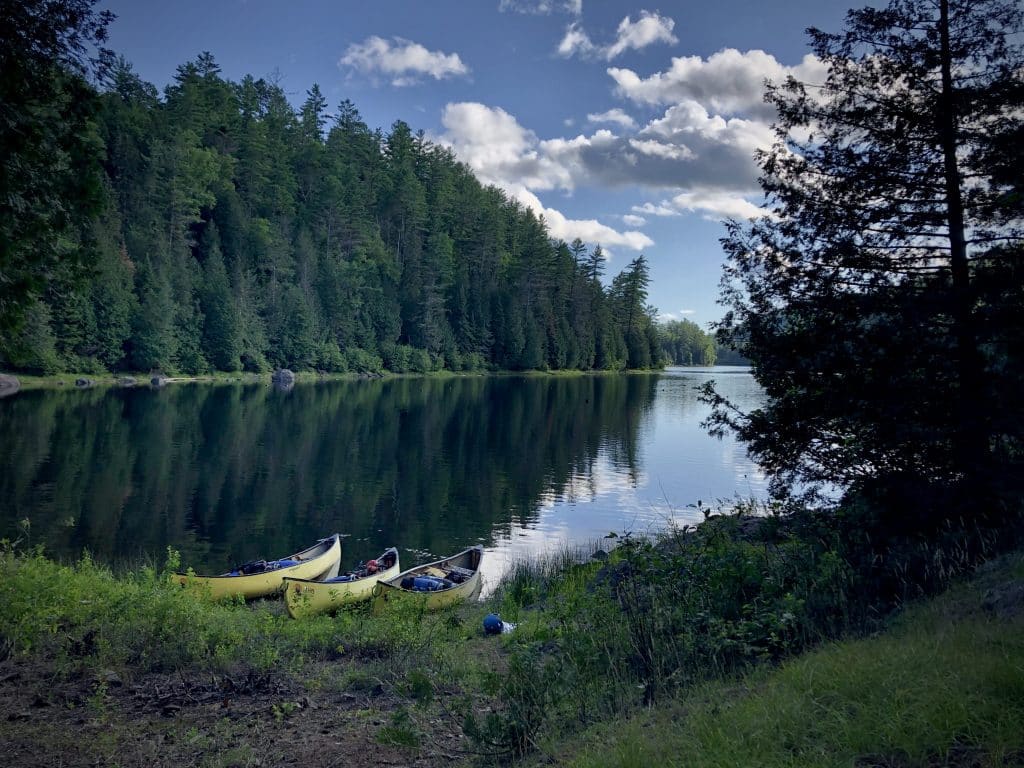
Campsite: On the first night we stayed on Travers Lake because we had to double back. Paddlers could easily make it to Big Thompson or Little Thompson on the first day though.
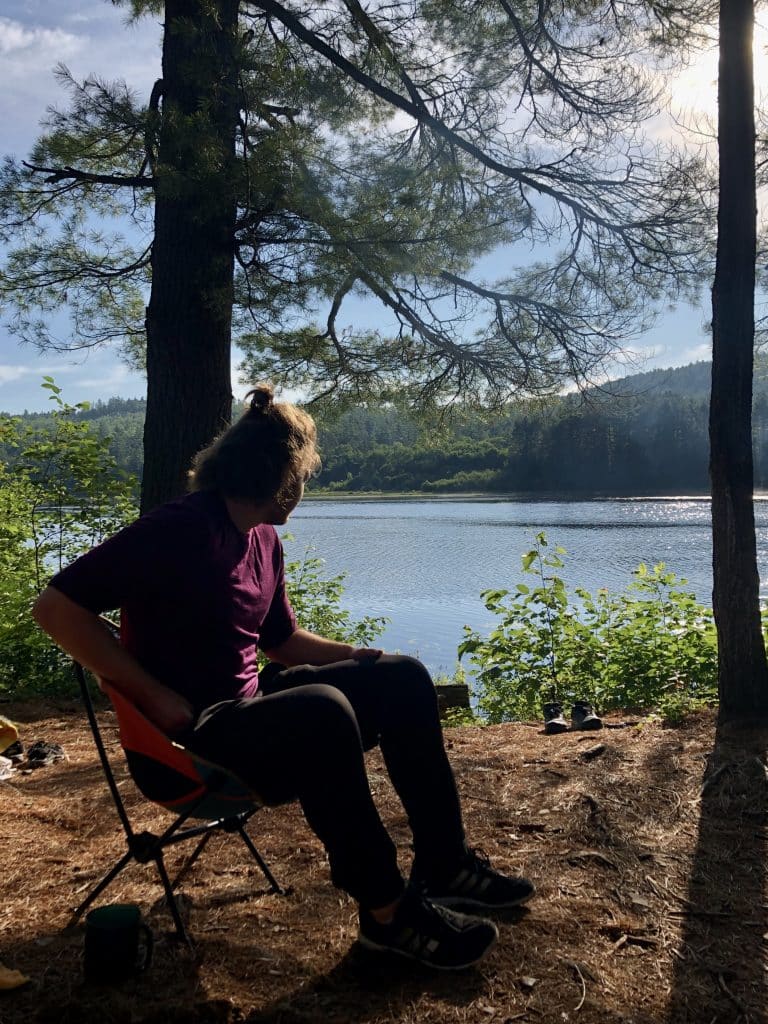
We were treated to the most gorgeous sunset and stars on the first night. I even tried my hand at photographing the Milky Way (how’d I do?). On this evening I was happy to have a great tent for stargazing, one with a mesh roof and easy fly to take on and off.


Day 2: Big Thompson Rapids to Crooked Chute (10 km)
We kicked off the day with hearty breakfast sandwiches and a ton of sunshine. (Check out my Backcountry Cookbook for tons of recipes for canoe trips.)


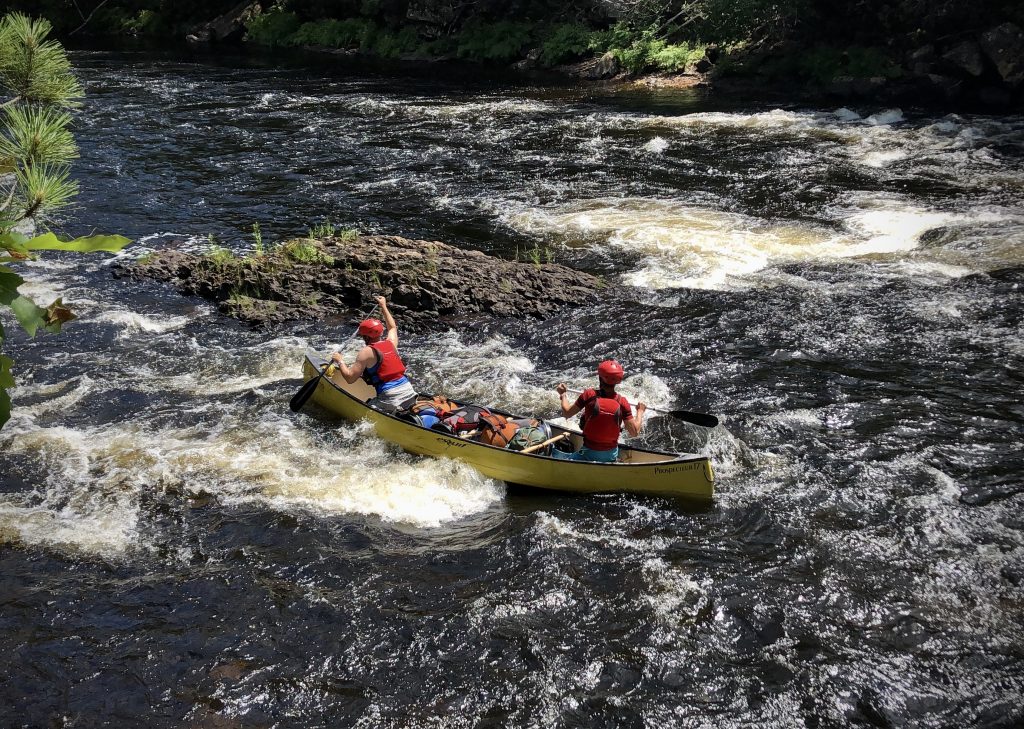
Big Thompson Rapids
Big Thompson Rapids was a great rapid to get started on. It had some good volume to it and several rocks / ledges to avoid, but there was a clear line and we navigated it fairly smoothly (the hull of the canoe might disagree, however).
Little Thompson Rapids
Little Thompson was a short rapid, but had quite the ledge on the River Right side so we scouted it. The scout provided a great angle to get some photos so that was a nice bonus.
Grillade Rapids
Grillade Rapids occurs during a wide section of the river, and was really more of a high volume swift for us. We didn’t need to scout this one, but you should stay alert throughout the run. There were a few rocks just below the surface of the water that we had to navigate around.
Crooked Chute
The current picks up upstream of Crooked Chute. There are three opportunities to take out, depending on your comfort paddling in swifts / Class I rapids upstream of a waterfall.
We paddled to the second takeout, keeping snug to the River Right shoreline. We lined / walked the canoes between the second and third takeout because it was rocky and shallow along the shoreline.
Campsite: On the second night we stayed at the last campsite at Crooked Chute (at the third takeout). There were excellent tent spots and an exposed area where we could see the current picking up right before entering the falls.


Day 3: Crooked Chute to The Natch (9 km)
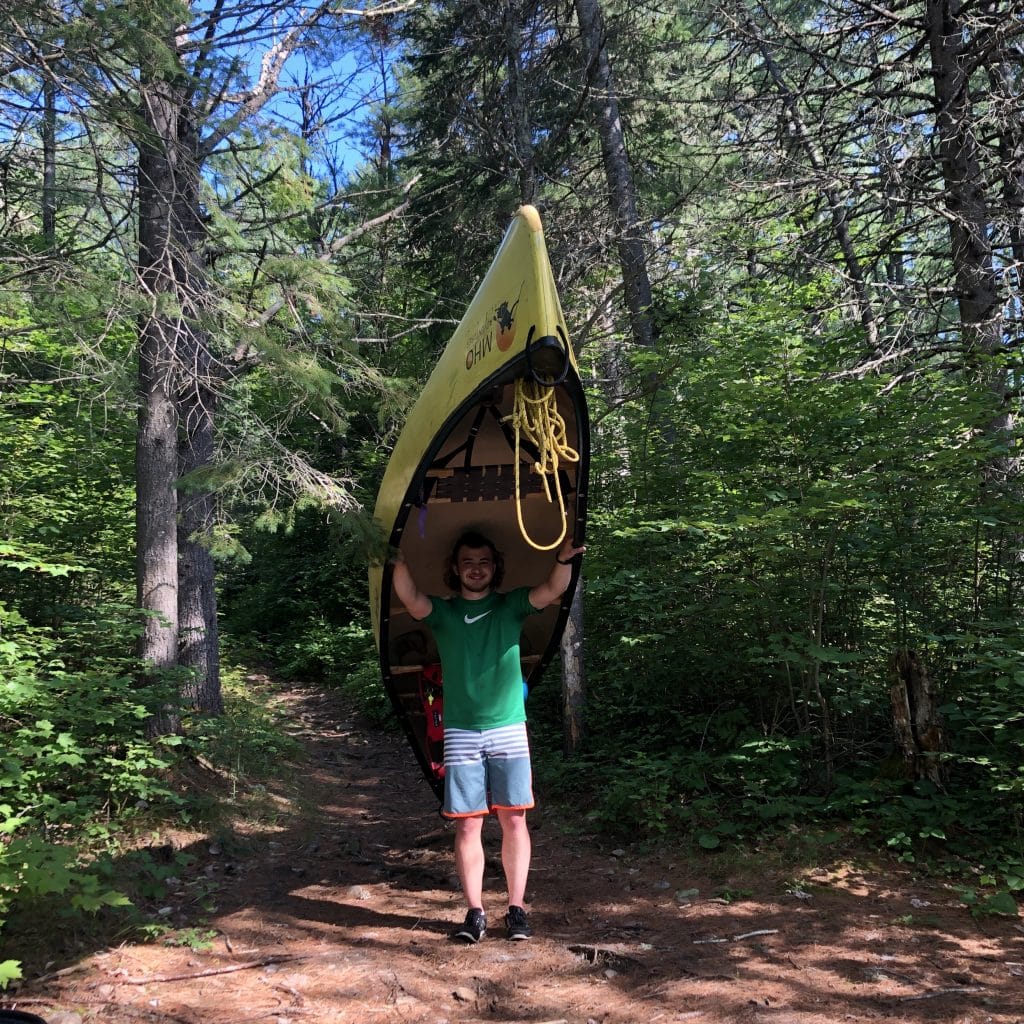
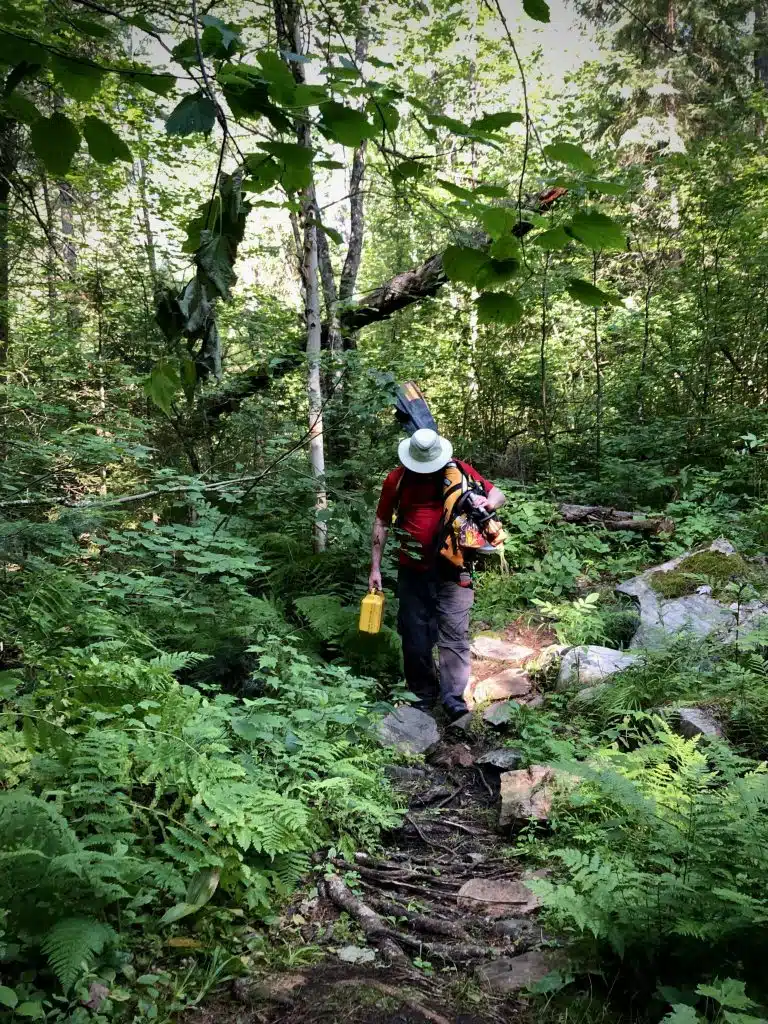
Crooked Chute Portage
We started the day with a portage from the campsite around Crooked Chute. I actually love camping at the start of a portage. The portage is very well maintained and not too challenging.

Rollaway
We had to line the top part of Rollaway because a fallen tree was sweeping across the river and creating the perfect strainer. We lined River Right until we were past the strainer.
From here it was a fairly rocky Class I / II, but we did have one boat get stuck against a rock at a precarious angle. The two paddlers stayed in the boat while the barrels fell out and floated down the rapid. One of the guides went out to free the boat, but they’d taken on so much water at this point that the boat quickly flipped over. Thankfully, our guide providing downstream safety pulled them out with a throw bag and got everyone to shore.
Now the boat was pinned against a rock though, so we all worked together to get the boat free. It added on an hour or so to the set, but such is to be expected when paddling whitewater.


The Natch Rapids
There are two short rapids upstream of The Natch. An experienced paddler could canoe down the first, but there are a few nasty holes so you would want to be extremely confident you wouldn’t tip. A much better choice would be to line down the River Left side or portage (we lined).
We paddled down the second set of the rapids, though we did a quick scout first.
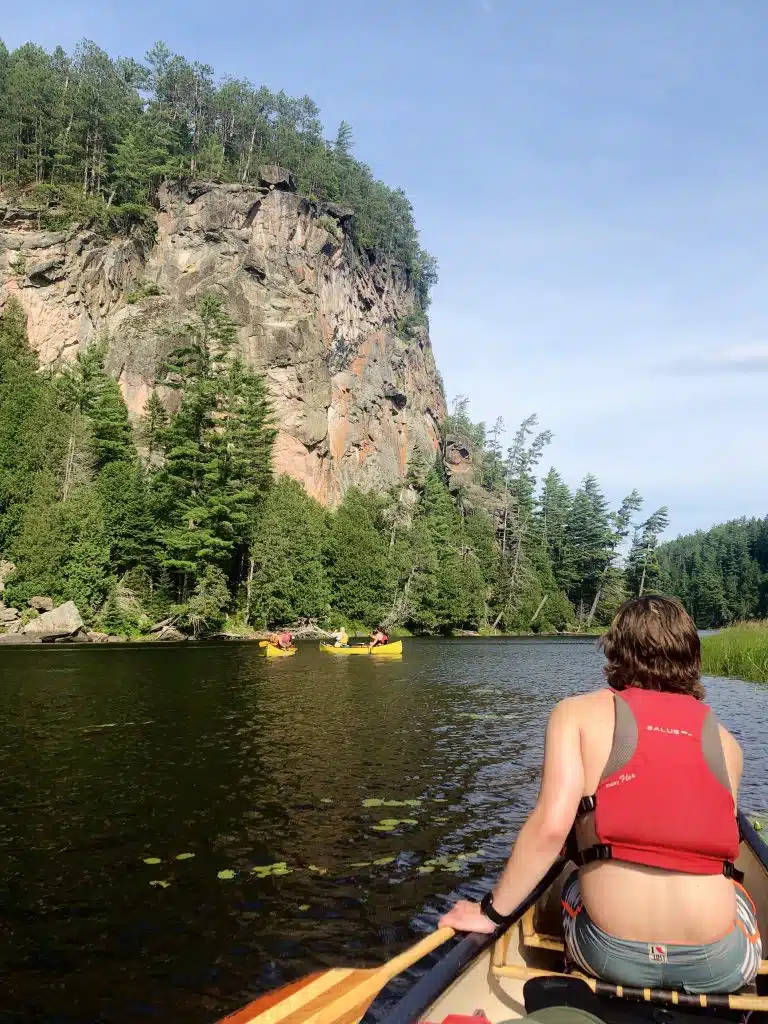
The Natch
The Natch is this incredible cliff face along the side of the river. If you have a little time on your hands, there is a hike you can do to the top of it.
Campsite: We had hoped to stay at one of the campsites around The Natch, but by the time we reached all the campsites were taken. Instead, we camped just upriver to Schooner Rapids. I wouldn’t recommend this campsite – try to stay at The Natch instead!

Day 4: The Natch to Lake McManus (19 km)
We had a quick breakfast on the last day and were off the site fairly quickly. This was our longest day in terms of distance paddled, but we were actually only on the water for less than four hours.
Schooner Rapids
This is a long rapid that alternates between swift and Class I. The quick current for so long makes the kilometres fly by. Easy peasy.
5 Mile Rapids
5 Mile is actually only 3.8 km, which is both confusing and annoying because the swift current is so nice I’d like it to stretch on a lot longer.
Neither of the rapids above needed to be scouted, however, don’t let your guard down. There are some sneaky rocks lying just below the surface of the water ready to catch a canoe.
Additional Resources
You’ll definitely want to pick up a copy of the Petawawa River Guide Book and a map before you go. You can purchase the guidebook online or at the Algonquin Outfitters Store. A map of Algonquin can be purchased at the visitor’s centre, MEC or an outfitter servicing the park.
The Ultimate Guide to Canoe Camping
A Beginner’s Guide to Scouting Rapids
How to Get Started in Whitewater Canoeing


Stay in Touch
Join our community of outdoor adventurers - you'll find trip inspiration, gear discussions, route recommendations, new friends and more!
Great post; thanks Mikaela!
You’re welcome Chris!
What time of year did you do this? I’ve never paddled the Petawawa and am wondering if it is better to do in the spring, summer, or fall. Have some whitewater experience and do lots of canoe tripping; ideally trying to find the time of year that will have the least hazardous river conditions. Thanks!
We did it at the end of July and I think that was perfect. Higher water levels in spring mean high volume on rapids, however lower water levels in August / September mean the rapids will be super rocky with more obstacles.
Did this trip 7 years ago. After seeing this great video I think it’s time to do it again!
Wow! Great post. Very helpful planning our trip. Hope we get good weather like you did!
Thanks so much! I’m glad you found it helpful!
Hi! Love this guide. Now did you have issues with bugs/mosquitos? How rough was the access road to Lake Travers?
Hi Brian! There were mosquitos (not too bad, only in the evenings) but no black flies. Road to Travers was bumpy but totally doable in most cars I believe!